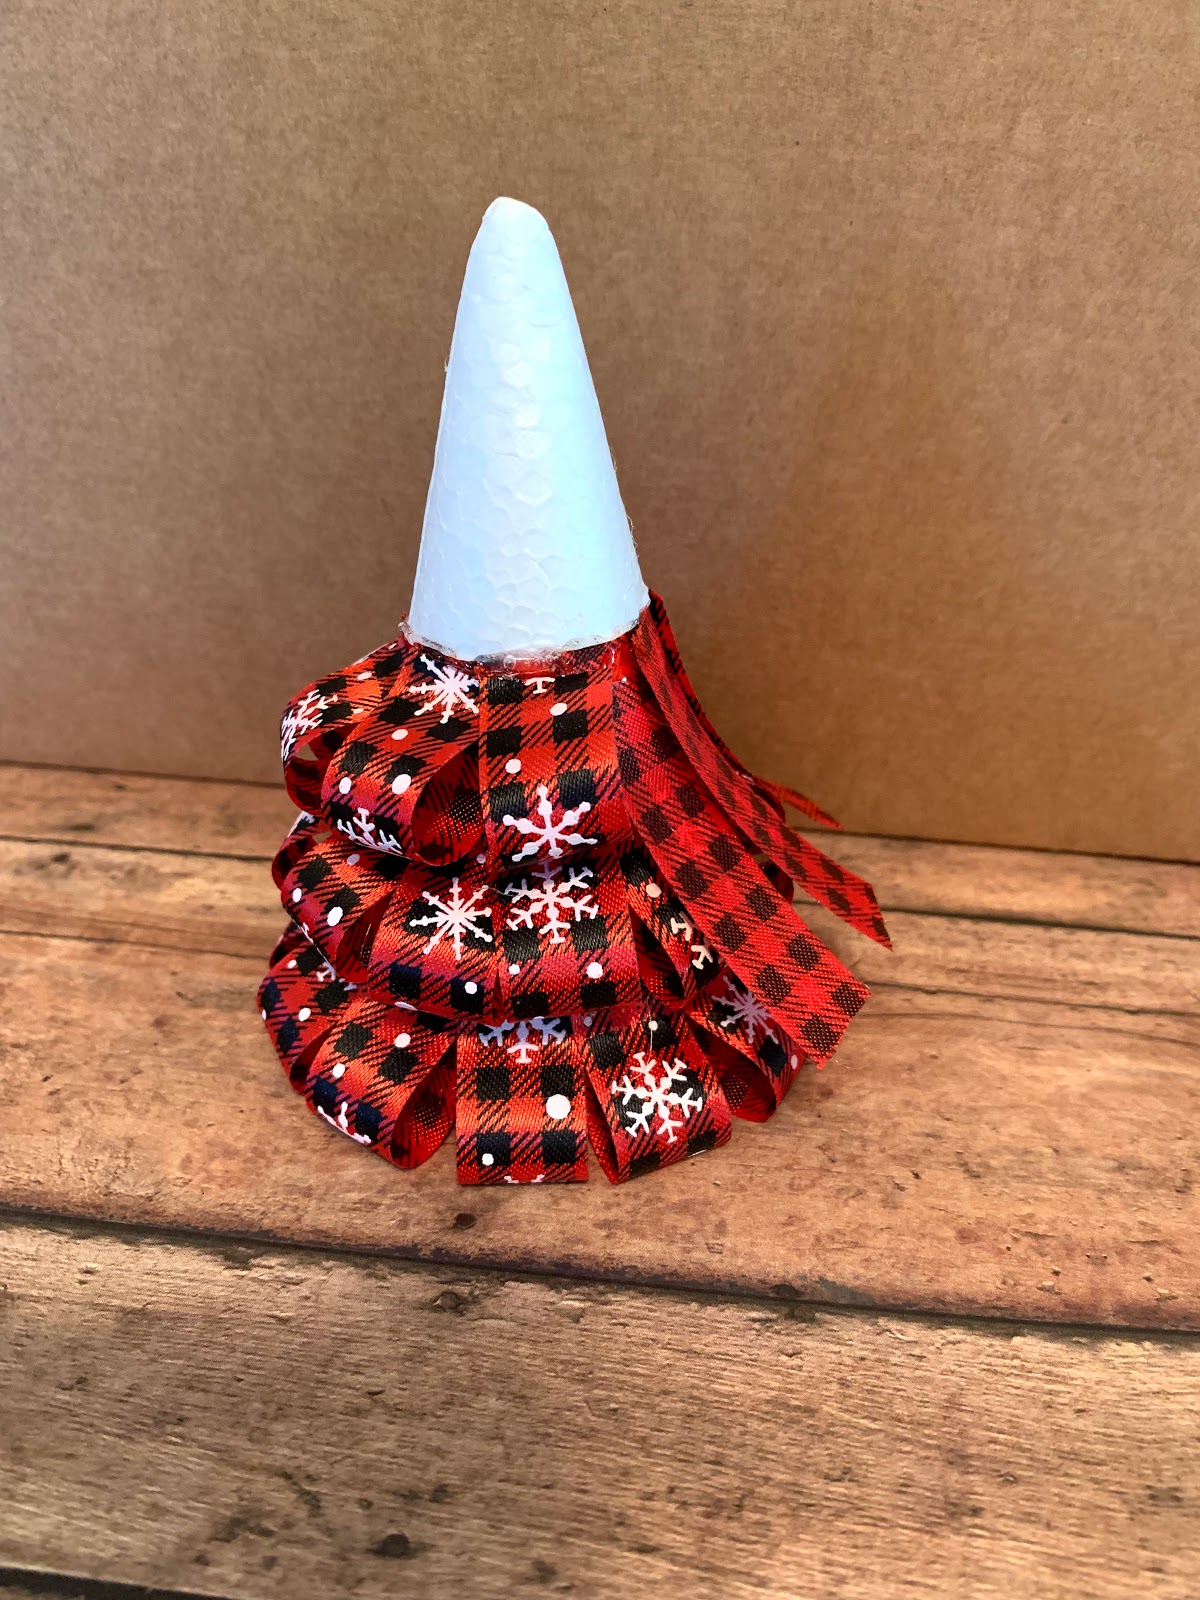
One more way to use those cones! A Ribbon Tree is a great way to use whatever colors you want to add to your Christmas tree. You will need 1 cone, ribbon, glue gun and a piece of string to make the hanger. Optional is a pom pom for a topper.
I used every inch of the spool of ribbon for one tree, so don't be careless when you cut the ribbon in pieces - you cannot waste a bit!!!
The ribbon was from Dollar Tree. Nine feet of 5/8 wide, cut into
2 and 1/2 inch pieces.


Using a glue gun, start at the bottom of the cone and glue pieces all around the bottom.


I glue a piece on as shown here ---->
Glue the edge of the wrong side. Do it all the way around, then put glue on the other end of the piece and fold up to edge.
Glue a piece of ribbon on the top.
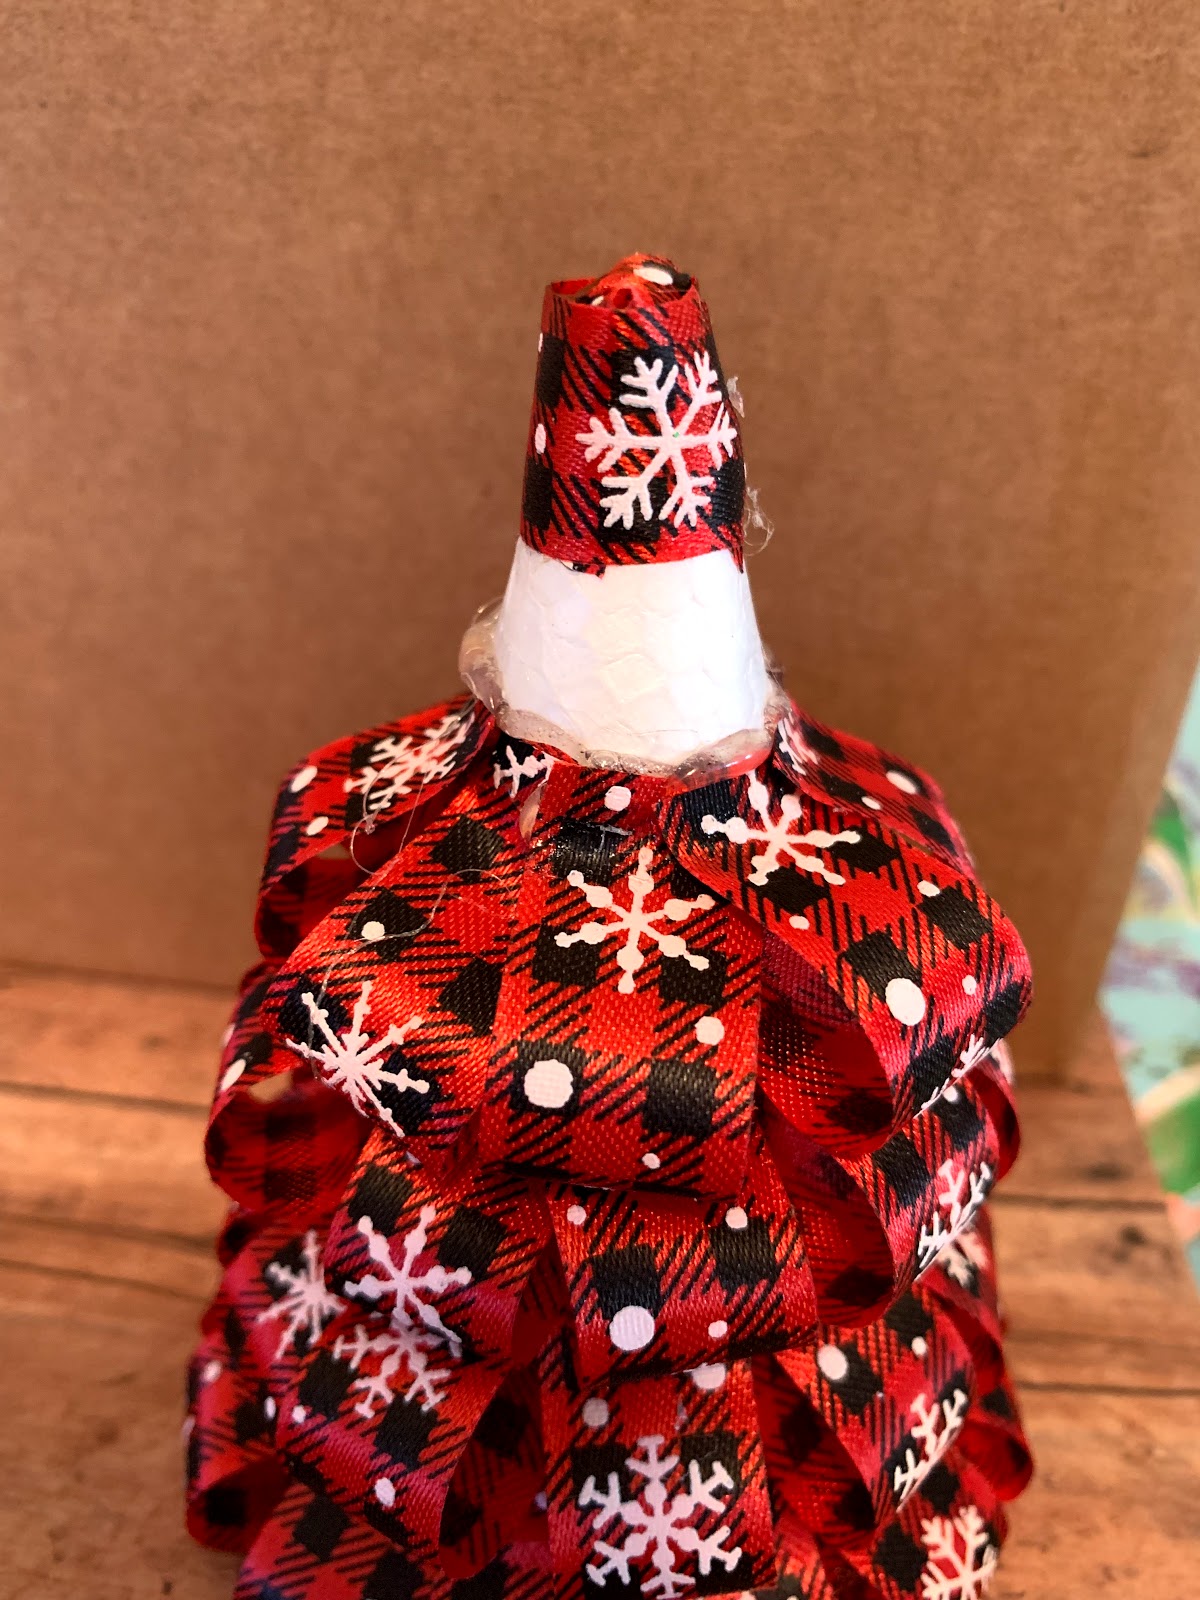
Just keep going up, over lapping each layer.

Glue a piece of string to the top so you can hang it on your Christmas tree or to a package - how cute!

You can add a pom pom to the top.

Which one do you like the best????????????????


Are you going to make one?
Will you post it so we can see?
All the tree ornaments I have made are to be donated to the Christmas tree at the Party for Children with Downs that our church is helping to sponsor in December.
Comments
Post a Comment